How I Built a Cinematic Channel Trailer With Claude Code, Gemini, Remotion, and Eleven Labs
No video team. No After Effects. Just code, the right AI tools, and a few hours. The exact workflow I used to build the VibeMastery trailer.
A few weeks ago I published the VibeMastery channel trailer. You can watch it here:
Cinematic motion graphics. A voiceover that sounds like an actual human. Background music. Six distinct scenes with completely different visual styles: fast-cut dashboards, rapid-fire text cards, a split screen, a glowing milestone roadmap.
I built the whole thing in one afternoon. No video production team. No After Effects. No outsourcing. Just code, four AI tools, and a workflow I mostly figured out as I went.
Here is exactly how I did it.
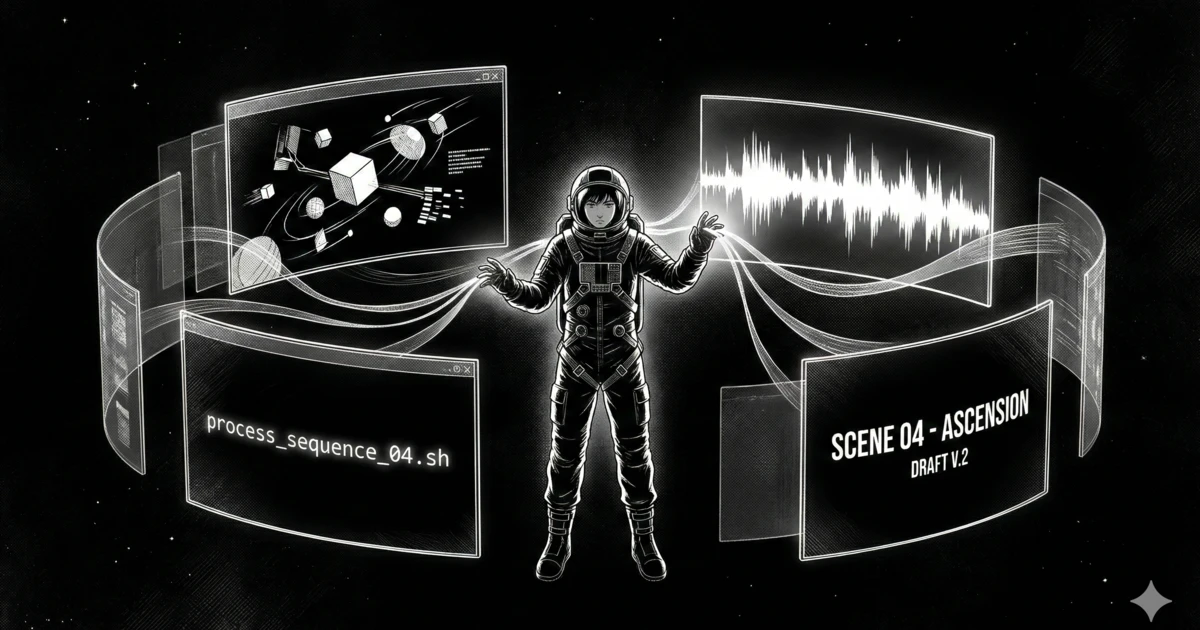
The Stack
Before we get into the steps, here is what I used:
-
Remotion for the video itself. You write React components, it renders frames. Code-based video.
-
Gemini 3.1 in OpenCode for the visual design. More on why Gemini and not Claude in a second.
-
Claude Code with Opus 4.6 for everything else: logic, structure, audio sync, and refinements.
-
Eleven Labs for the voiceover and background music.
Step 1: The Script Is the Foundation
Before I opened any tool, the script was done. video.md.
This matters more than it sounds. A good script is not just the words you say. It is a production document. Every scene I wrote specifies what is on screen, what the voiceover says, what the pacing should feel like, and what the emotional beat of that moment is. When I handed this to an AI to start writing code, it had everything it needed to work with.
The script defined six scenes, each one its own Remotion component:
-
The Promise. Fast-cut builds, then a blinking cursor and silence.
-
The Wall. An abstract error message, then nine problem names on text cards.
-
Two Broken Paths. A split screen. Both sides fade to black.
-
The Third Path. A single illuminated path, three words appear.
-
VibeMastery. The wordmark and a 12-milestone roadmap animation.
-
The Invitation. Three audience segments, then the final manifesto line.
One component per scene, plus an index.tsx that composes them into the full video.
Step 2: Set Up the Remotion Repo
I created a separate repository just for videos. Remotion works like any React project. You run a dev server, open the Remotion studio in the browser, and see your video render in real time as you change code.
That is what makes code-based video so useful. Every change is instant. Every frame is deterministic. The whole thing lives in a git repo with no binary files and no export settings to manage. Just components.
Step 3: Build the Visuals (This Is Where It Gets Interesting)
My first instinct was to use Claude Code for the visuals. That was a mistake.
Claude Code is genuinely great at logic, structure, and knowing what code needs to exist. But I could not get it to generate visually compelling frontend code from scratch. I went back and forth on Scene 1 for a while and the motion graphics never felt right.
So I switched to Gemini 3.1 in OpenCode. It was a different experience. Gemini has a much stronger feel for visual design. It generates frontend code that actually looks good without needing constant nudging on the basics.
My workflow with Gemini was: take a screenshot of what I had, describe what I wanted to change, get new code, render it in the Remotion studio, screenshot again. Text and visuals together, not just text prompts into a void.
I also used the frontend-design skill, which pushes the model toward a higher standard of visual output. Without it, Gemini tends to produce safe, generic-looking designs. With it, you get something that feels like a real product.
One thing worth calling out: the script described what each scene should communicate, not exactly what it should look like. Several scenes ended up very different from what was written.
Scene 4, "The Third Path," was supposed to show three plain text cards appearing one by one. The final version is nothing like that. "VIBE CODING" crashes in from the top, "UNDERSTANDING." crashes in from the bottom, they collide with a screen shake, and the "with" fades in between them. Then the whole thing zooms into the camera as the exit. Same idea, completely different execution.
Scene 2 was supposed to have the nine problem names appear as rapid-fire cards, one per beat. What ended up in the video is all nine stacked simultaneously in a 3D arrangement with a slow scroll and a depth-of-field blur that keeps the center card in focus. That version is visually much richer than what the script described.
The script was the north star, not a wireframe. The direction and intent stayed intact. The visuals were whatever actually looked good when rendered.
Once I had a solid base for each scene, I moved back to Claude Code for everything else: small adjustments, the voiceover logic, audio timing, keeping things consistent across scenes.
Step 4: Record the Voiceover (and Discover It Was Too Short)
With a working visual skeleton, I went to Eleven Labs to generate the voiceover.
I use Eleven Labs in project mode. You create a project, paste in your script, select a voice, and generate audio. The key thing I did was export the VO sentence by sentence rather than as one continuous take. That choice mattered a lot for what came next.
My first pass revealed a problem. The audio clips were too short. The VO I had written was tight, almost too tight, and the scenes were flying by faster than the visuals had time to land. It felt rushed.
So I went back to Claude and we expanded the voiceover. Not to change the message, just to give each line more room. Longer pauses, more deliberate delivery. Then I regenerated the clips in Eleven Labs.
Once the timing felt right, I downloaded each sentence as its own audio file.
Step 5: Sync the Audio to the Scenes
This is where the sentence-by-sentence approach really pays off.
Instead of one long audio track I would have to manually slice and time, I had individual files, one per VO line. I gave Claude Code the files along with the script mapping, and Claude analyzed the audio durations directly by reading the file metadata. It did not guess. It measured.
From there it built the scene timing around the actual clip lengths. Each scene got exactly the number of frames it needed to fit its voiceover. The visuals adapted to the audio, not the other way around.
Step 6: Generate the Background Music
The last piece was the score. I went back to Eleven Labs and used their music generation feature. I described the emotional arc I wanted: driving and warm in the opening, more tense through the problem section, open and warm again during the resolution.
Eleven Labs gave me a few options. I picked the one that fit, dropped it into the Remotion composition as its own layer, and adjusted the volume so it sat under the voiceover without competing with it.
What I Learned
Use the right model for the right job. Gemini is noticeably better at generating strong visual frontend code from scratch. Claude is better at everything once the visual foundation exists. I wasted time trying to get Claude to do what Gemini handles easily. Do not make that mistake.
The sentence-by-sentence export in Eleven Labs is not just a workflow preference. It is a sync mechanism. When your audio is in individual clips, you can tell Claude exactly how long each scene should be. You get frame-accurate timing without touching a single number yourself.
The script is where the real work happens. Everything else is execution. If the script is vague about what should be on screen, you will spend a lot of time prompting into nothing. A detailed, specific script is what lets the AI tools move fast. Do not skip it.
The Result
A 2:38 channel trailer. Six scenes. Motion graphics, a voiceover that sounds like a person, and background music that fits.
Built in one afternoon. By one person. With no video production background.
That is what this stack can do right now. The tools are not magic and the workflow matters, but the ceiling on what a solo builder can produce has moved a lot. This is one example of what that actually looks like.